3D printing, a process that seemed like science fiction a few decades ago, is now a popular and accessible hobby for many. It involves creating three-dimensional objects by layering materials, typically plastic, under computer control. This transformative technology allows hobbyists to bring digital designs to life, offering endless possibilities for creativity and innovation.
A Brief Overview and History
The journey of 3D printing began in the 1980s, originally known as ‘rapid prototyping’ for industrial use. The first patent was filed by Chuck Hull in 1986 for a system called stereolithography. It evolved over the years, becoming more accessible and user-friendly. With the advent of desktop 3D printers, it exploded into the mainstream, attracting hobbyists and DIY enthusiasts worldwide.
Who Will Enjoy 3D Printing?
- Tech enthusiasts fascinated by innovative technology
- Creative minds looking to materialize their ideas
- DIY hobbyists and makers
- Individuals interested in prototyping and engineering
- Educators and students exploring STEAM fields
Equipment and Materials
To start 3D printing, you’ll need:
- 3D Printer: Options range from budget-friendly models to high-end machines.
- Filaments: PLA and ABS are common choices for beginners.
- 3D Modeling Software: Free and paid software like TinkerCAD or Fusion 360.
- Accessories: Tools for removing prints, cleaning, and maintenance.
Beginner’s Guide to 3D Printing
Step 1: Understanding Your 3D Printer
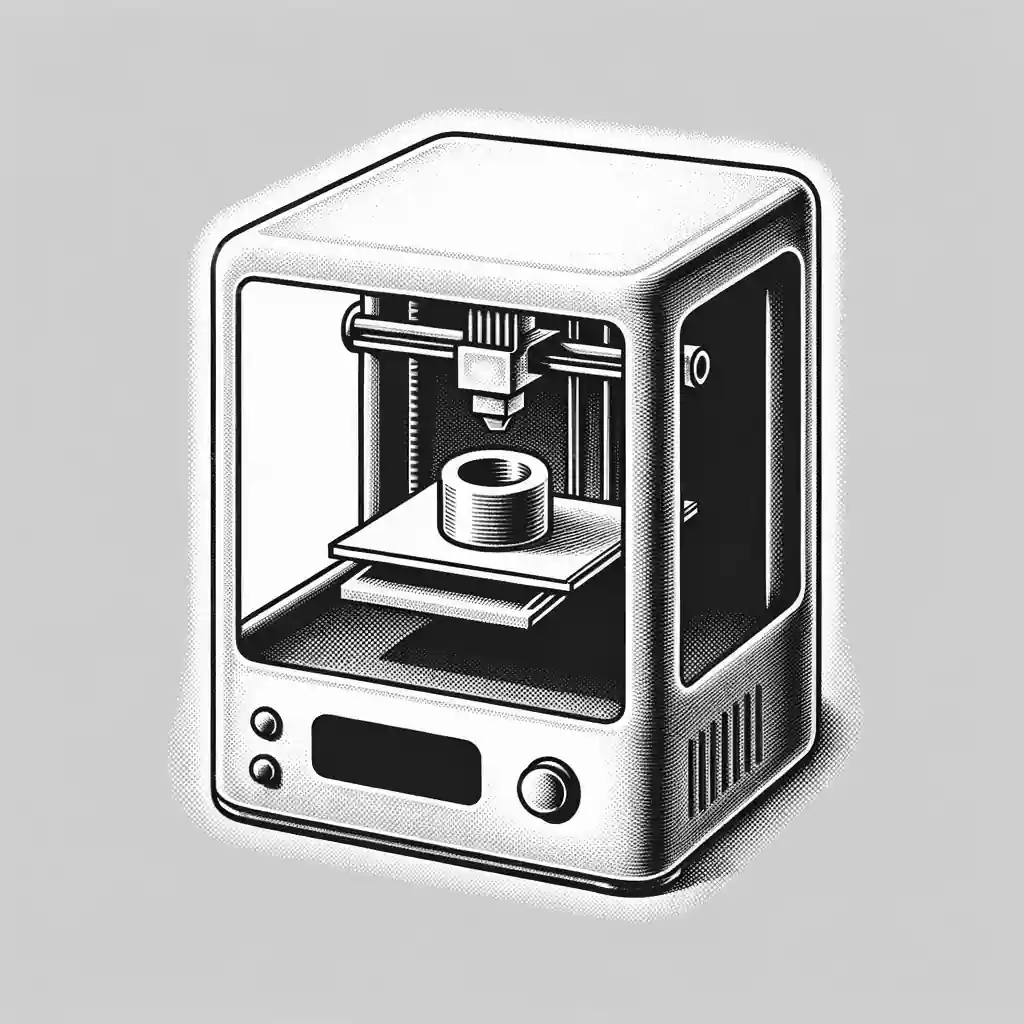
Familiarize yourself with the parts: the build plate, extruder, filament spool holder, and control interface. Read the manual carefully.
Step 2: Choose and Install Filament
Select PLA filament for starters, as it’s easier to work with. Load the filament according to your printer’s instructions.
Step 3: 3D Modeling Basics
Start with a simple project in a 3D modeling program. Online tutorials can guide you through this process.
Step 4: Slicing the Model
‘Slicing’ converts your 3D model into layers for printing. Use slicing software compatible with your printer, adjusting settings like layer height and print speed.
Step 5: First Print
Start with a pre-designed, simple object. Monitor the first print for issues like poor adhesion or incorrect temperatures.
Step 6: Removing the Print
Once the print is done and cooled, gently remove it using a spatula if necessary.
Step 7: Post-Processing
Clean any strings or imperfections with a craft knife or sandpaper.
Step 8: Experiment and Learn
Try different models, filaments, and settings. Each print will teach you something new.
Tips & Tricks
- Start with simple designs to build confidence.
- Ensure the build plate is level for better adhesion.
- Use adhesive like hairspray or glue stick if prints don’t stick.
- Store filament in a dry, cool place to prevent moisture absorption.
- Regularly clean and maintain your printer for consistent results.
Exploring Advanced 3D Printing Techniques
After mastering the basics, explore techniques like dual extrusion for multi-color prints, using supports for complex models, or trying different materials like flexible TPU or durable PETG.
Can 3D Printing Make Money?
Absolutely! Here are a few ways to monetize 3D printing:
- Sell custom printed items like unique home decor, jewelry, or personalized gadgets.
- Provide 3D printing services, printing designs for clients who don’t own printers.
- Create and sell digital 3D models on platforms like Shapeways or Thingiverse.
- Offer 3D printing workshops, teaching skills in community centers or online.
Useful Resources
- Beginners’ Tutorials: A curated YouTube playlist for beginners.
- Thingiverse: A vast library of free 3D models.
- Fusion 360 for Hobbyists: Free version of a powerful CAD software.
- 3D Printing Subreddit: A community for sharing and advice.
- HobbyFinder Community: Connect with fellow 3D printing enthusiasts.
Whether you’re a tech enthusiast, creative, or simply love tinkering, 3D printing offers a world of possibilities. As you embark on this journey, remember: every failed print is a step towards mastering this incredible hobby!